Heated Driveway DIY: Innovative Solutions for Winter Maintenance

Here are the important facts and steps mentioned in the article, relevant to the keyword 'heated driveway DIY': 1. Ground preparation and compaction are crucial for optimal performance of the heated driveway system. 2. The spacing of the heating cables should be planned in advance based on desired heat output. Data from ASHRAE can help determine the heat requirements for melting snow in specific geographic locations. 3. Limit the number of times the cables pass through crack control joints and use joint jumpers for protection. 
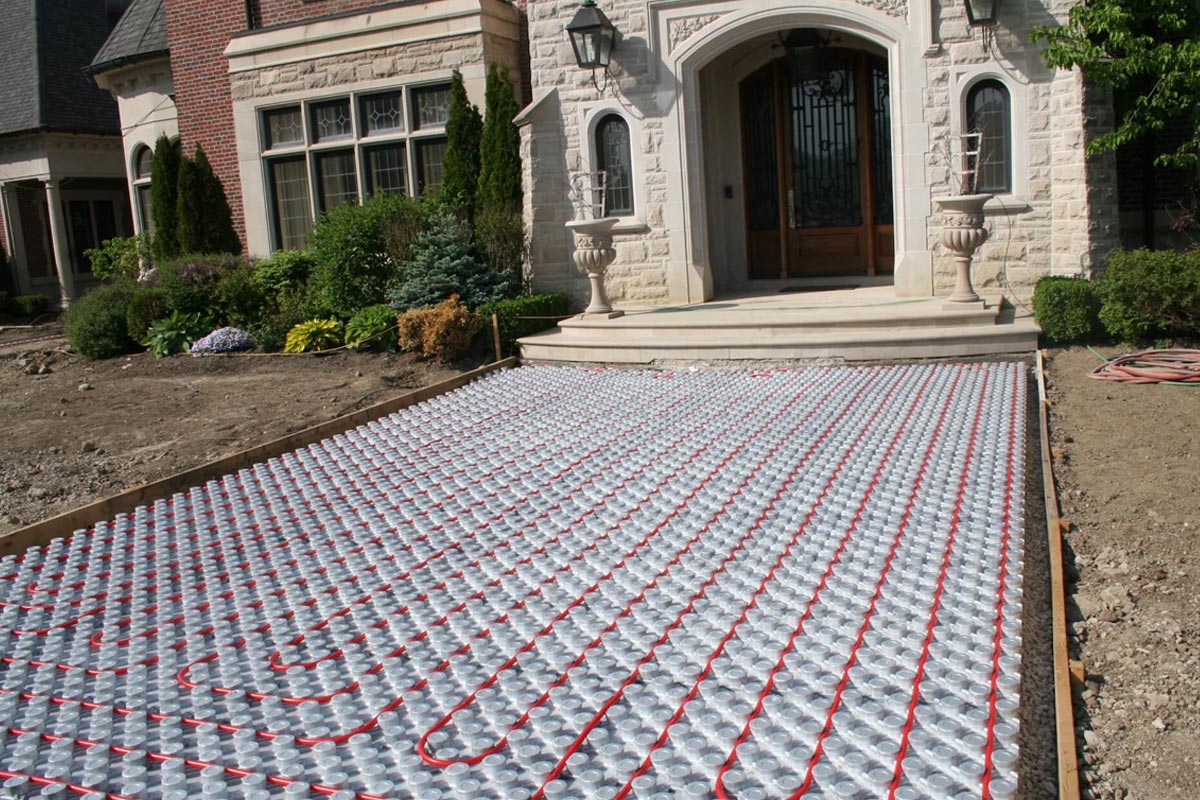
4. Start by attaching the cables to wire remesh following the planned layout. Elevate the remesh on castle chairs to position the cables in the center of the concrete pour. 5. Install jumpers at crack control joints. Install the activation device and control units and make the necessary connections. 6. Run any tests required by the manufacturer before pouring concrete over the snow melting system. 7. Take care to avoid damaging the cables while pouring concrete and run any additional tests required by the manufacturer. 
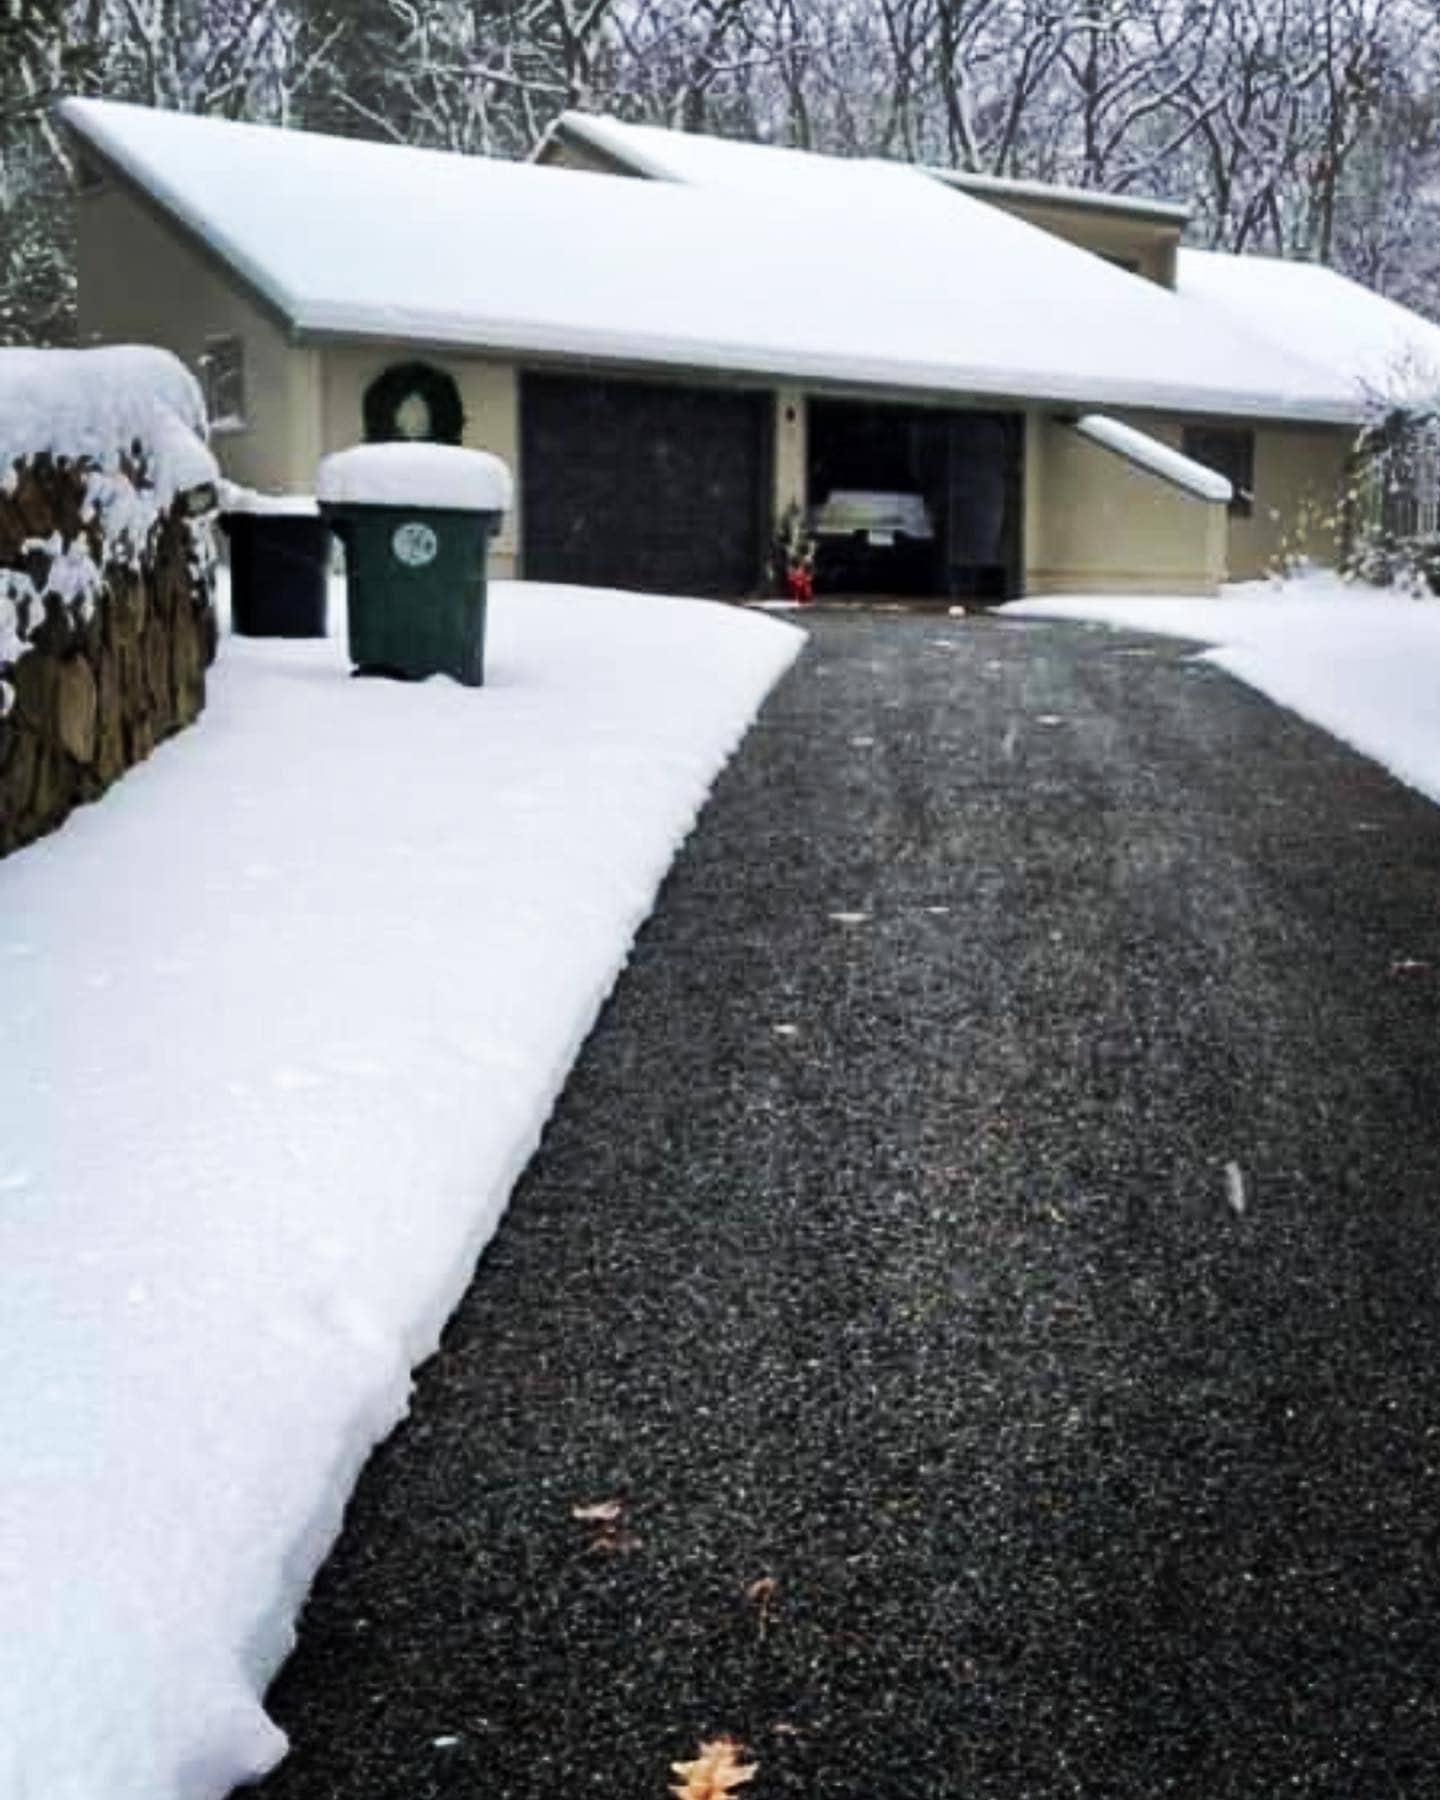
8. Once the system is installed, it can be operated with an automated activation option or manually with a switch or timer. Watch the weather and activate the system when snow is expected. Note: The facts, figures, and additional information mentioned in the text are not directly related to the DIY installation process of a heated driveway, therefore they have been excluded from the list.

Heated Driveway Hydronic: CostEfficient Solution for Winter Belle

- Hydronic snow melting systems - Hot water and propylene glycol - Prevent freezing - Circulated through PEX tubing - Heated by a water heater (boiler) - Routes through PEX tubing to warm driveway or sidewalks - Retains heat after boiler shuts down - Various energy sources - Lower operating cost than electric snow melting systems - High-quality components - Fully automated - Snow sensor to activate system only when needed - Customer service and support - Free installation training courses - Professional system design and engineering - Flexible PEX tubing - Mixture of hot water and propylene glycol - Natural gas, propane, or oil powered - Higher installation costs compared to electric systems - Lower operating costs over time - Durable and resistant to chemicals and corrosion - Long service life - Easily repaired if kinked - Contact a radiant heat expert for more information and price estimate.

Heated Driveway Minnesota: The Innovative Solution for Winter Snow

- Minnesota homeowners are turning to radiant heating solutions, like heated driveways, to combat freezing temperatures and heavy snowfall - Benefits of a heated driveway include never having to shovel snow again and keeping the driveway clear of ice and snow - No need to hire snow removal services or purchase ice-melting chemicals - Increased safety with a clear driveway and reduced risk of slipping on icy surfaces - Radiant floor heating can be achieved using heated water or electrical cables - There are two types of radiant floor heating: electric heating and hydronic heating - Cost of installing a heated driveway ranges from $14 to $24 per square foot - Average cost for a 2-car driveway is between $8,960 and $15,360 - Ongoing costs to run a heated driveway are low, depending on the electricity used - Heated driveways can last for decades with minimal maintenance - Consider installing heated walkways and patios for additional safety - Warmup offers state-of-the-art winter protection products, including heated driveways, for convenience and safety - Additional details or text related to heated driveways in Minnesota are needed to provide a comprehensive summary